We wont go into why you need a personal VPN, as there are many other blog posts which go into this in great detail. Let’s just get straight to the point and create our very own personal VPN. *This tutorial is going to focus on macOS and iOS, but can easily be applied to Windows or Linux.
So, Lets go!
First of all we need a VPS (Virtual Private Server) to host our personal VPN, I’ve chosen DigitalOcean, as its reasonably priced, and best of all - super easy to setup.
Now we need to create a new Droplet where we will install the OpenVPN server for our VPN. Ive chosen Ubuntu, and the smallest size is more then sufficient. I also chose New York as the datacenter region, but you can choose any location. *A U.S. location will come in handy if you use something like Netflix.
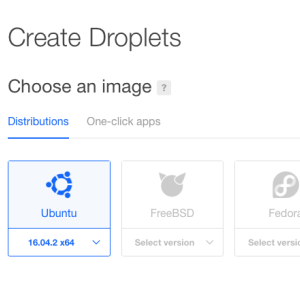 1. Choose the droplet Operating System
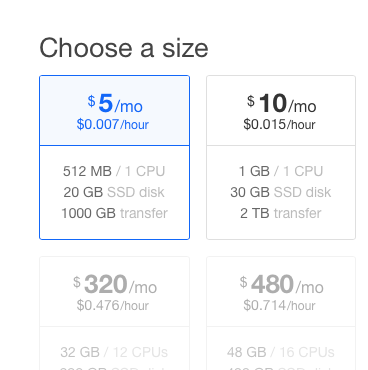 2. Choose the size for droplet
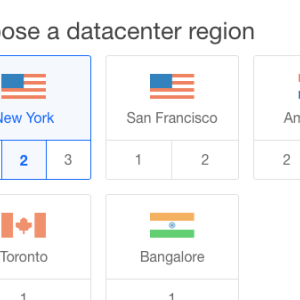 3. Choose a region for droplet
Scroll to the bottom of the page and click Create you’ll end up with something like this:
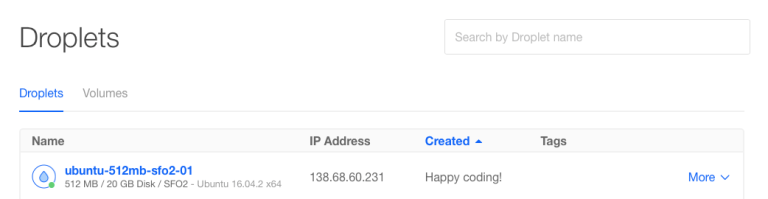 The freshly created droplet
*Take note of the IP Address, you’ll need it again later. In our case it is: 138.68.60.231
Open a Terminal window and login to your newly created droplet using the IP Address we noted above. *You should recieve a password for your droplet via email. In this case we login with the following command:
ssh root@138.68.60.231
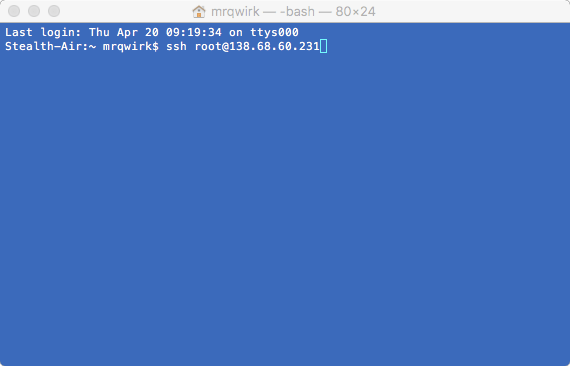 Logging into the droplet
Now lets install our personal VPN with OpenVPN
This is super simple using the script maintained in this GitHub account:
https://github.com/Nyr/openvpn-install
In the Terminal window, type:
wget https://git.io/vpn -O openvpn-install.sh && openvpn-install.sh
Press ENTER and run through the setup, selecting default answers for all questions.
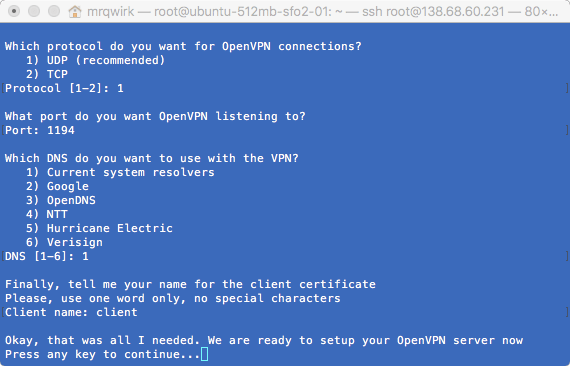 Running the setup script
Continue pressing ENTER and wait a minute or 2 for the script to install and configure openVPN. You should be rewarded with the following prompt:
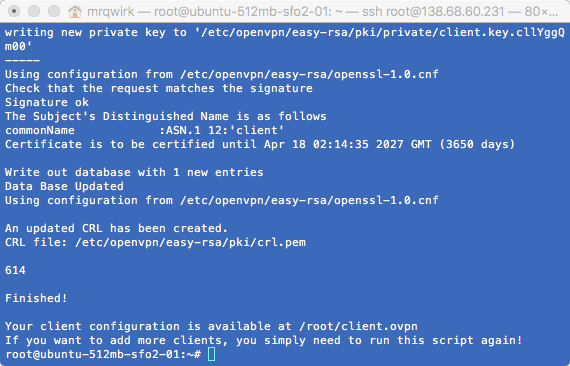 OpenVPN setup complete
*Take note of the client configuration location, in this case it is /root/client.ovpn
Extra Steps
If you want to connect multiple devices to your VPN, enter the following command:
nano /etc/openvpn/server.conf
then press ENTER
Scroll to the bottom of the window and paste:
duplicate-cn
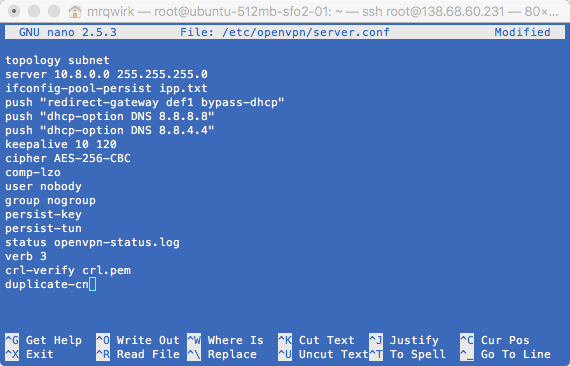 Connecting multiple devices
Click the CONTROL and X keys together, to commit the change. You’ll be prompted to confirm, click y. You’ll be prompted to save, click ENTER
OK, our VPN is now setup and we can logout of the droplet. Type:
logout
into the Terminal window then press Enter to logout.
Now that our VPN is configured, We need a way to connect to it via our computers/iPhone/iPad. That is also super simple.
Download configuration file
Let’s download the configuration file using the IP Address, and configuration location we noted above:
scp root@138.68.60.231:/root/client.ovpn ~/Desktop/client.ovpn
*change the IP address to the IP Address of your droplet. The configuration file will be saved to your Desktop, and be named client.ovpn
All thats left now is to use the configuration file on our devices to connect to our VPN.
Connecting to our VPN on macOS
Download and install https://www.tunnelblick.net
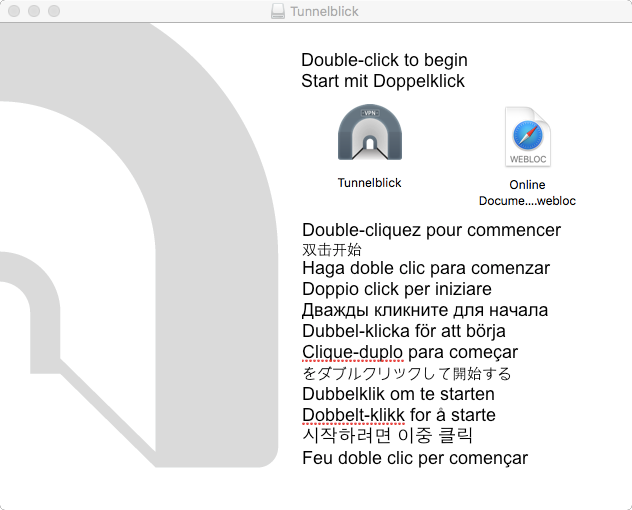 Installing TunnelBlick
Once TunnelBlick is installed, drag the configuration file to the TunnelBlick menu icon:
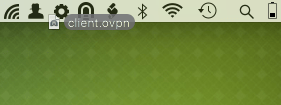 Drag config file to menu
All thats left to do is to tell TunnelBlick to connect to our VPN, which in our case is as simple as clicking Connect client
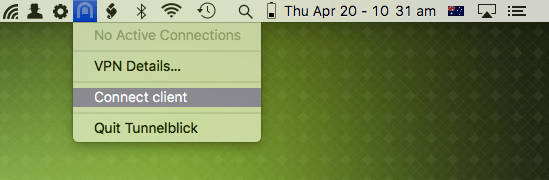 Connect to VPN
Connecting to our VPN on iOS
You need to install [https://apps.apple.com/app/id590379981](Open VPN Connect)
OK, lets add the configuration file to the app, this is super easy. All you need to do is open iTunes and connect your iPhone/iPad. Click on Settings>File Sharing then find OpenVPN Drag the config file into the OpenVPN Documents window and click Done 
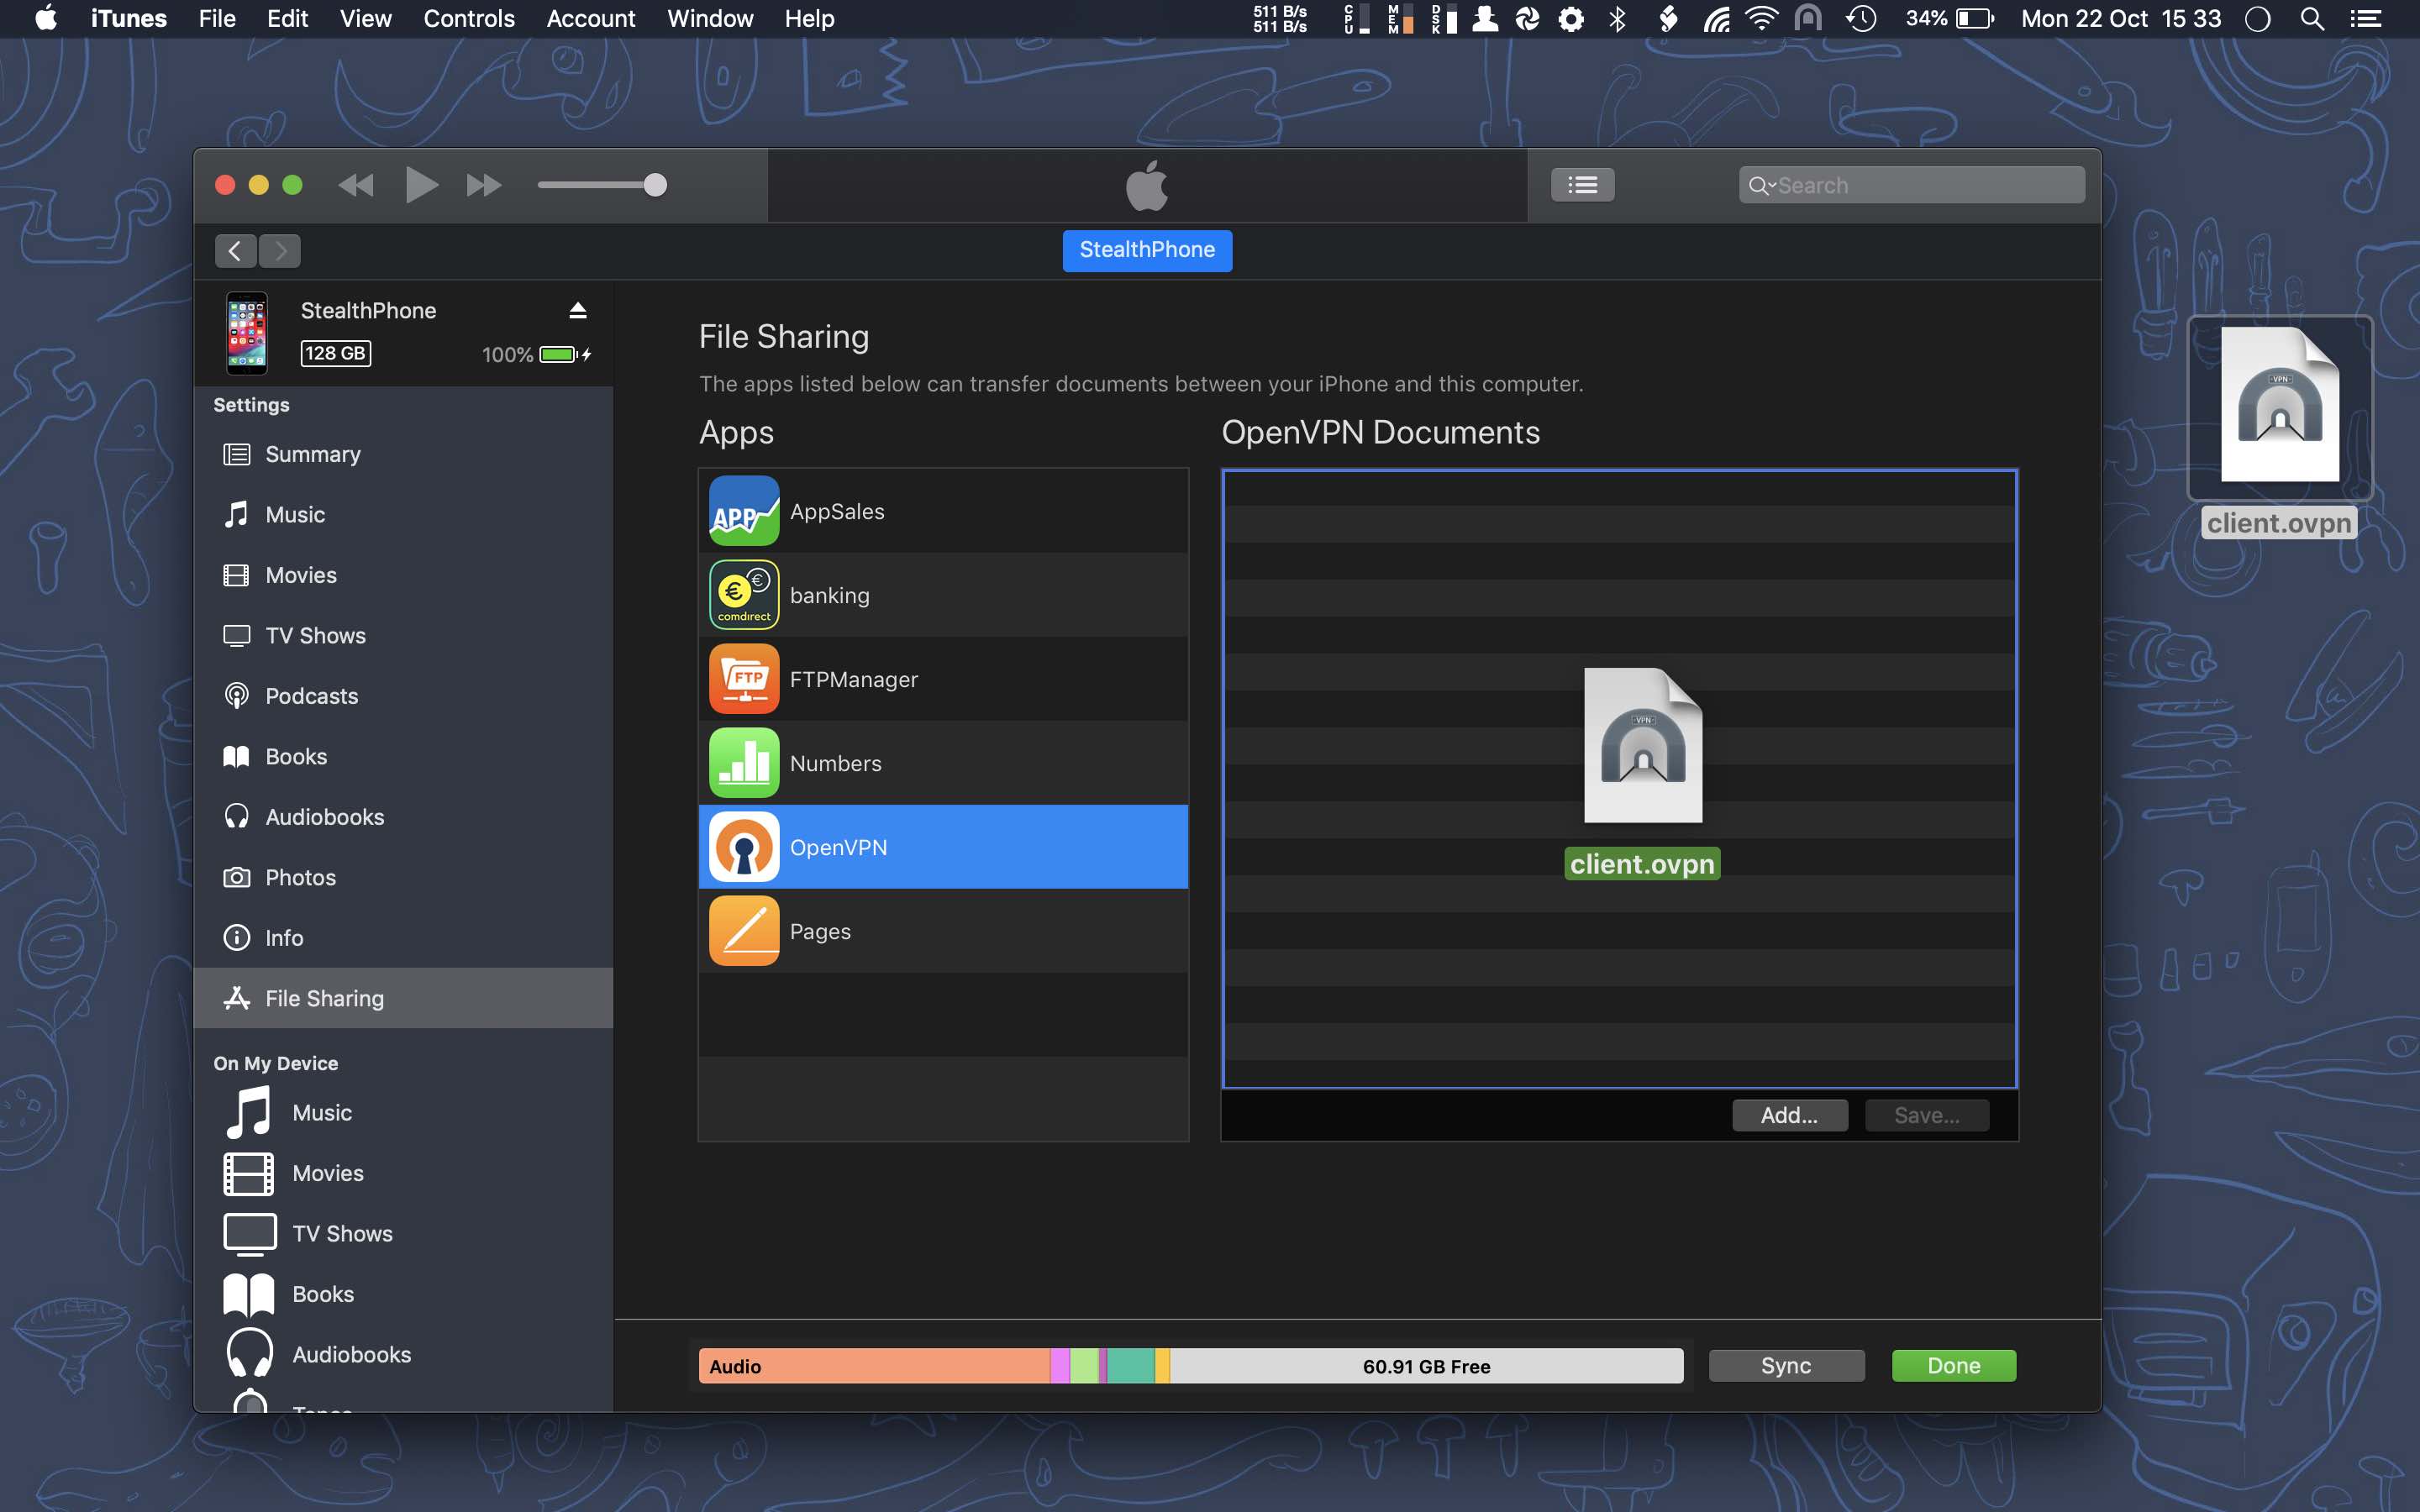 Install config file in iTunes
Now we head back to our iDevice, and open OpenVPN Look for the config profile you just imported and click the ADD button.
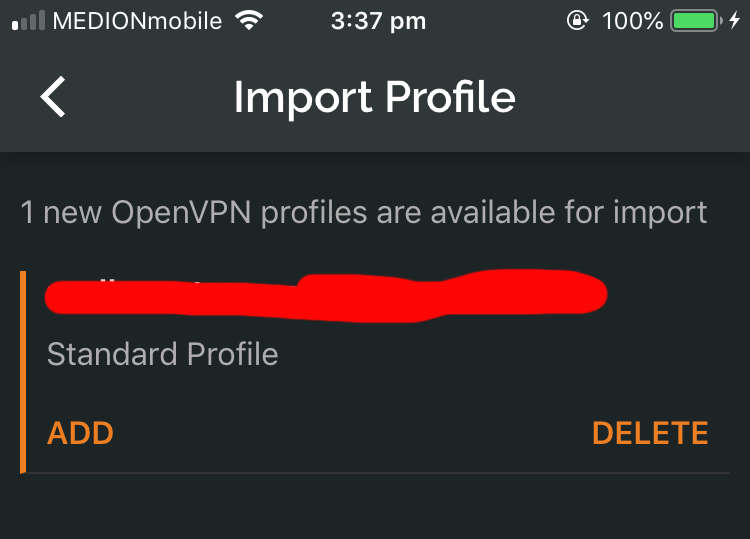 Importing config file
Click the toggle switch to connect:
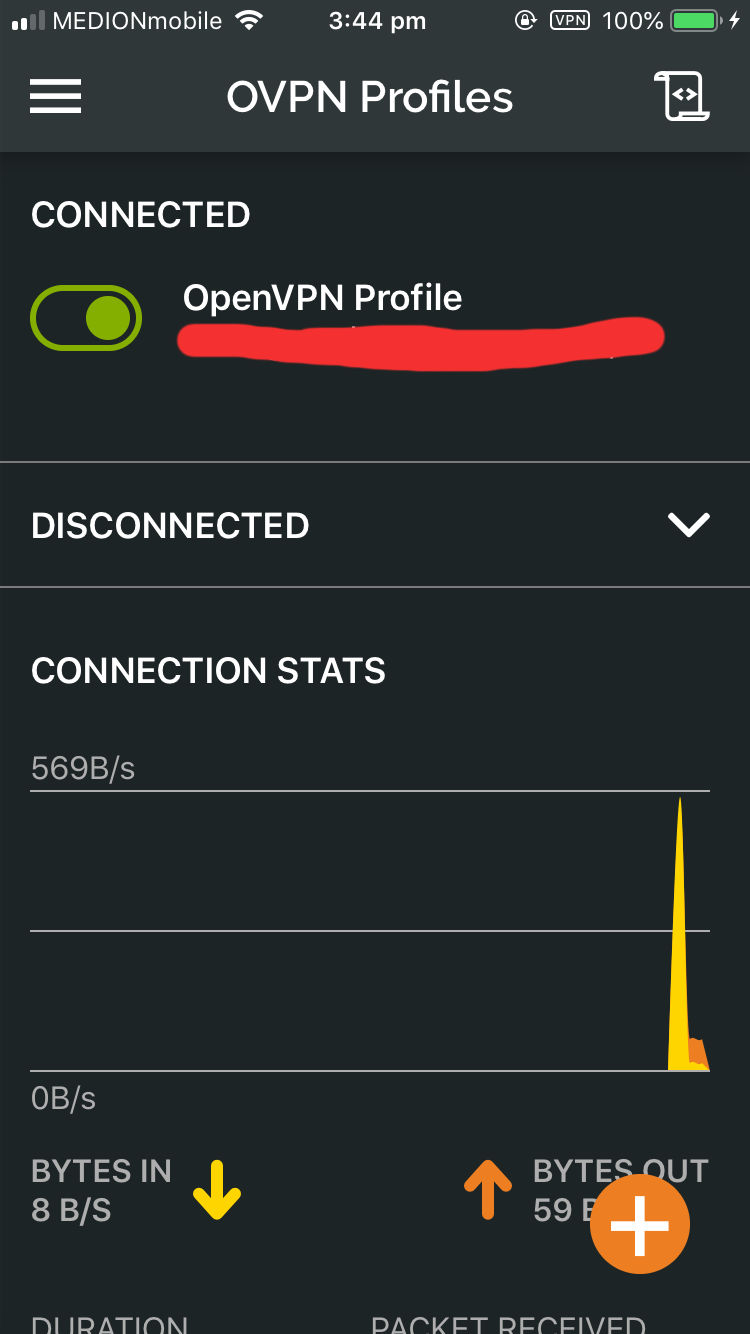 Connecting to VPN in iOS
Congratulations you should now be rocking your very own VPN!
In my own usage, and on my own meager Internet connection I haven’t really noticed any noticeable slowdowns.
🙂